⚠️ This content has been written a long time ago. As such, it might not reflect my current thoughts anymore. I keep this page online because it might still contain valid information.
Standing Desk Do It Yourself (DIY)
— Clermont-Fd Area, France2014-03-19 // I started to use an Apple Wireless Keyboard and a Magic Mouse rather than directly using my laptop.
I have been interested in standing desks for a while. A standing desk is a desk conceived for writing, reading, or working, while standing up or while sitting on a high stool. The impact of such desks on our health has been quantified, and several reports have come out pointing out the dangers of sitting too long (e.g. risk of obesity, diabetes, heart disease, a variety of cancers, and an early death). According to most people using standing desks, they even make you more productive, but I didn’t find any formal report confirming that yet.
After having given cardboard box-based standing desk a try last week, I decided to build my own standing desk, on top of my existing desk, for less than 30 euros ($40). There are plenty examples of DIY standing desks on the Internet, but that one is probably the best known, and this is the one I used as an example.
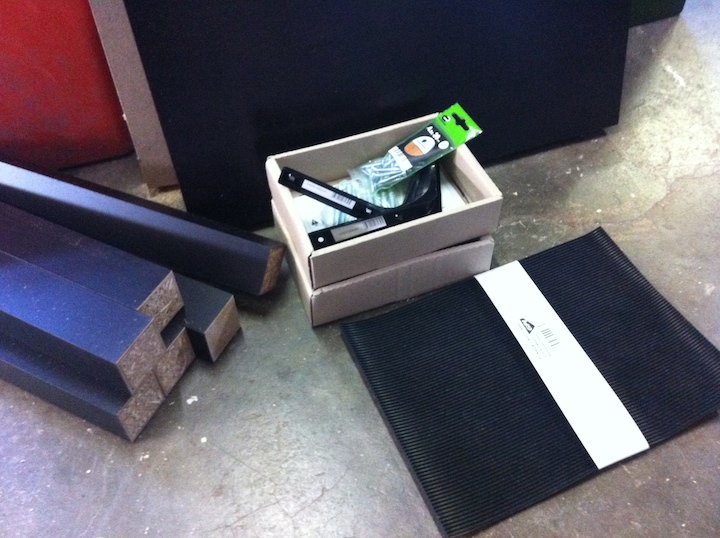
First, I needed the following items:
- two side tables (2 x 7 euros);
- two black brackets (2 x 1.5 euros);
- a black rubber slab with adhesive backing (8 euros);
- wood glue, screws, and a few tools (free).
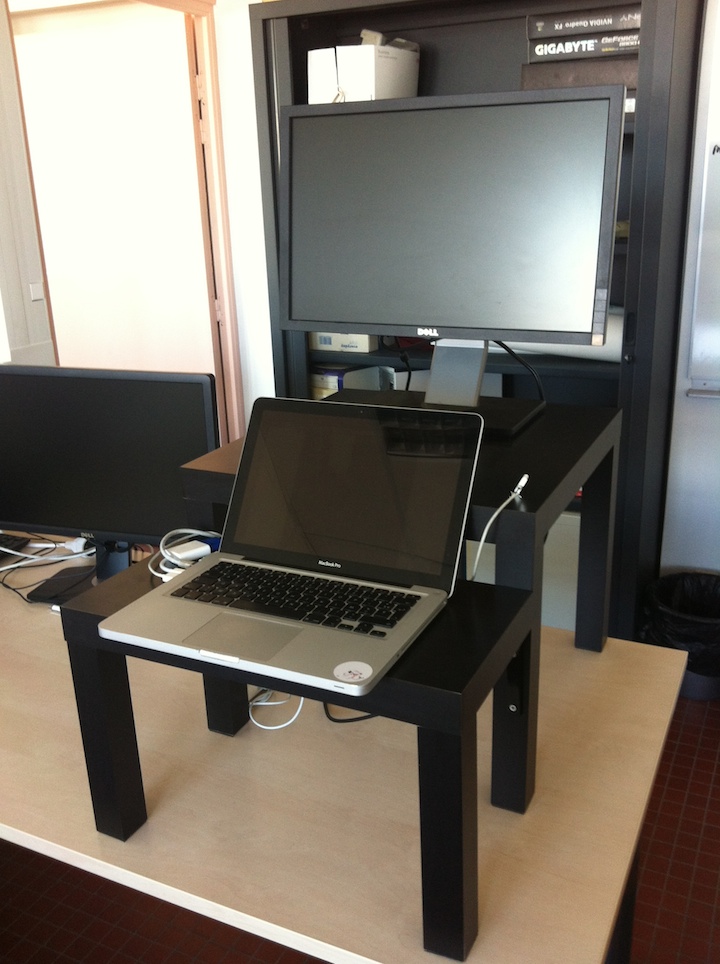
Then, it was time to write down THE plan. I needed to put the keyboard at the height of 32cm starting from the top of my existing desk, and the main monitor at the height of 10-15cm upper.
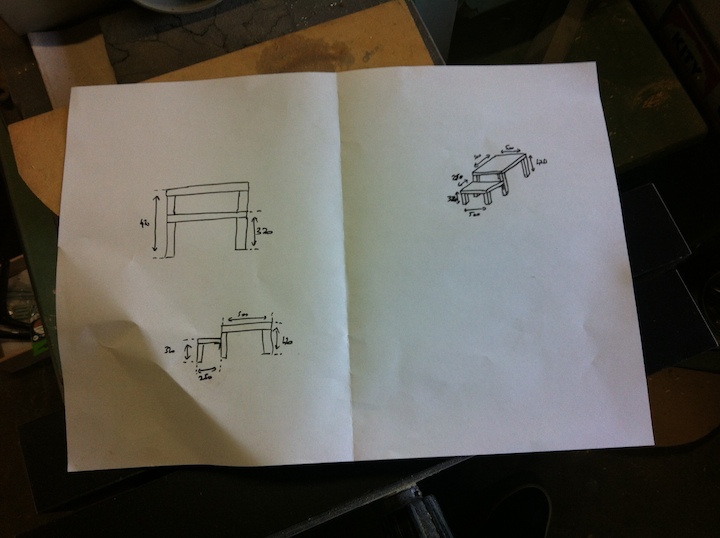
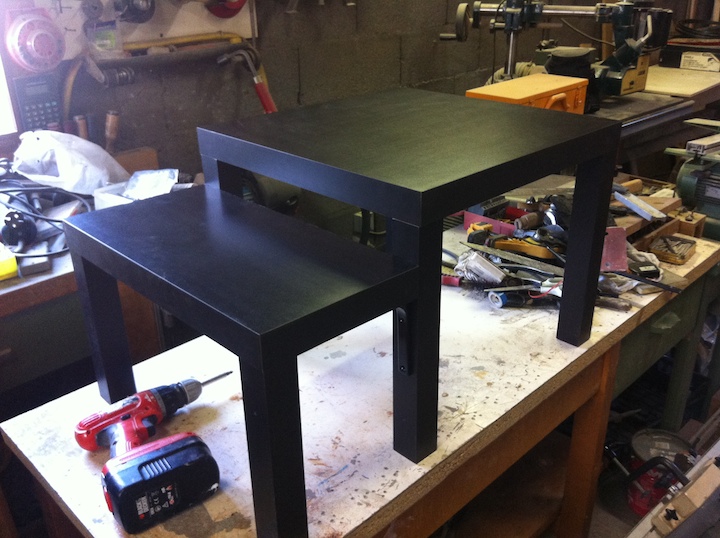
The side tables are square (50x50cm), and their height (42cm) perfectly fits my needs, given my existing desk dimensions as described above. That is why I chose such side tables actually, and this made things a lot easier.
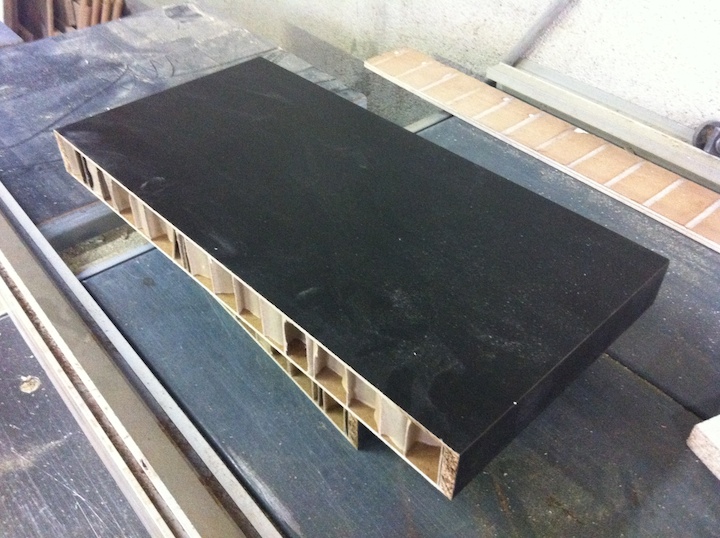
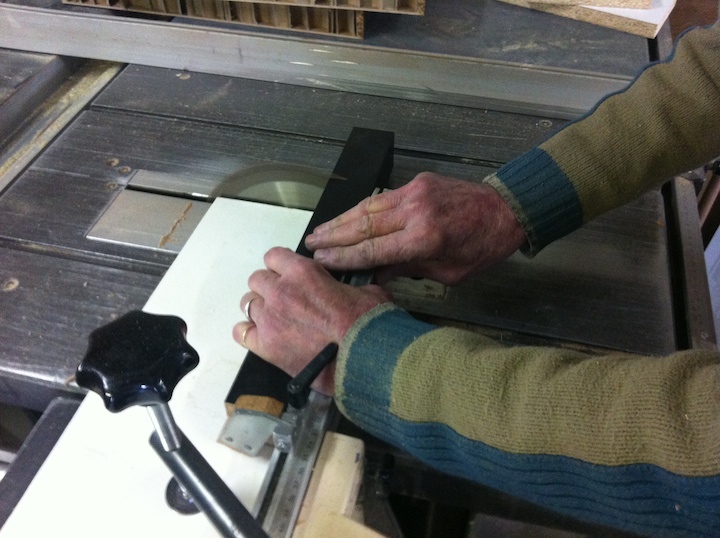
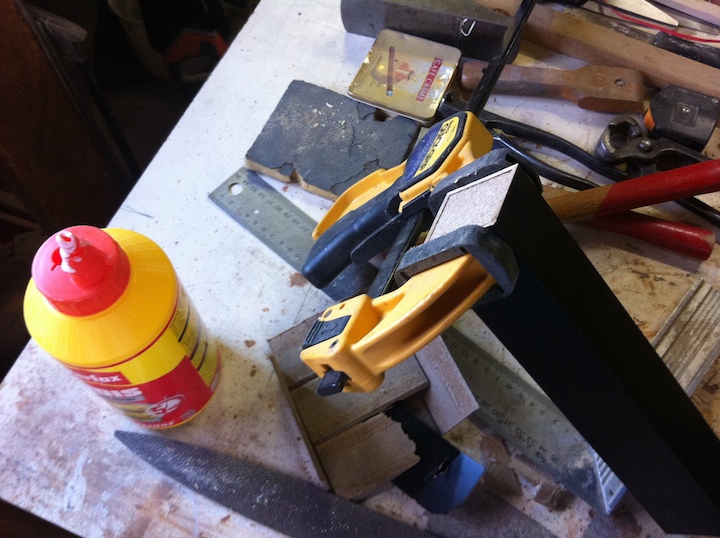
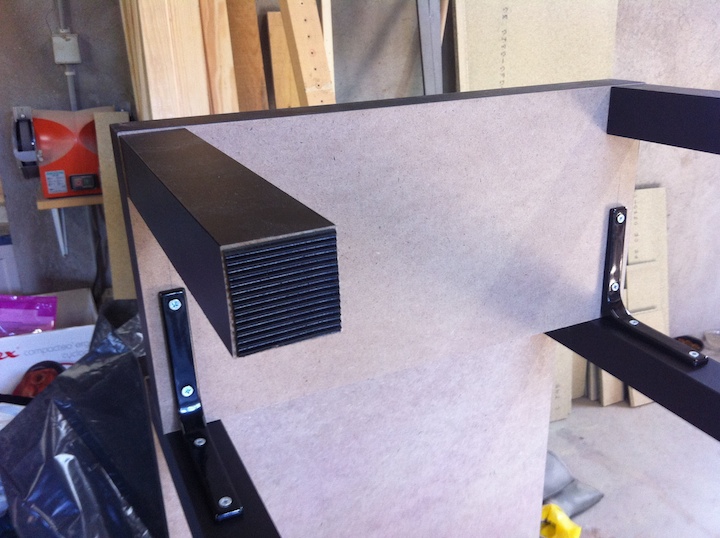
One side table has been used as is, and will support the main screen. The other side table has been split (25cm depth, and 32cm height), and will be used for either a laptop or a keyboard. In order to screw the brackets on the half table, I crafted two wood blocks that I put into the table, that one being made of wood with paper filling. This happens when you buy cheap furniture… Adding these blocks did the trick though.
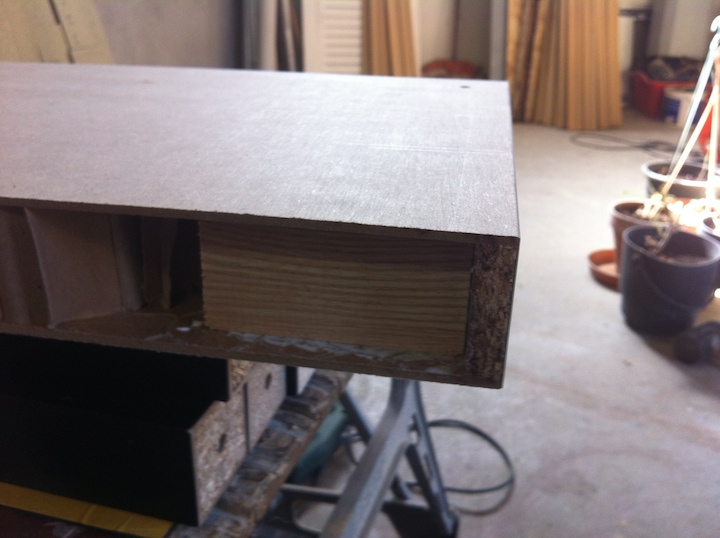
I did the same thing for the two hollow legs of the half table, gluing blocks of wood into them so that it looks exactly like the original legs. Here, I reused the blocks that were located in the offcuts of the two legs I cut.
At that time, everything was ready for assembling. I put up the other side table, then I screwed the short legs and the brackets on the half table.

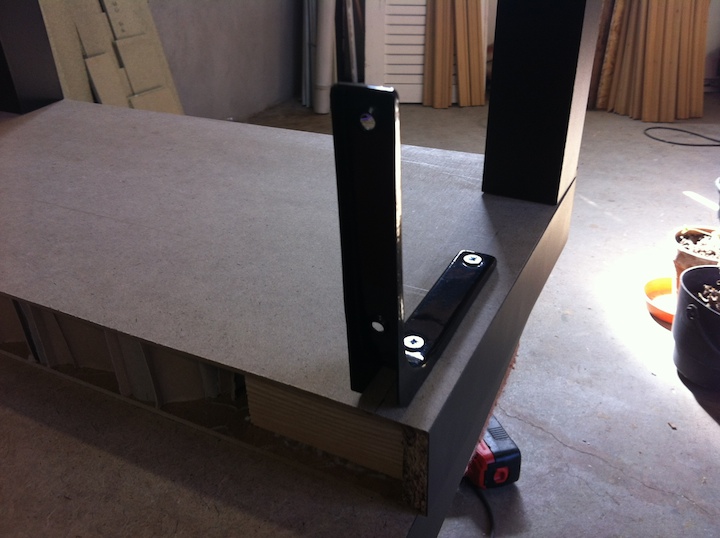
Sort of protip, I used a black marker to color the edges of the half table in order to make them pretty. Version 1 will not hide the back of the half table unfortunately. I didn’t find a satisfying solution yet.
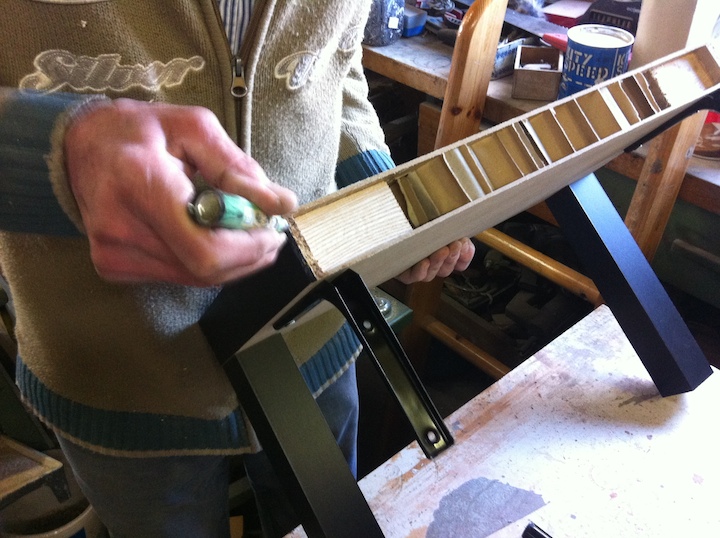
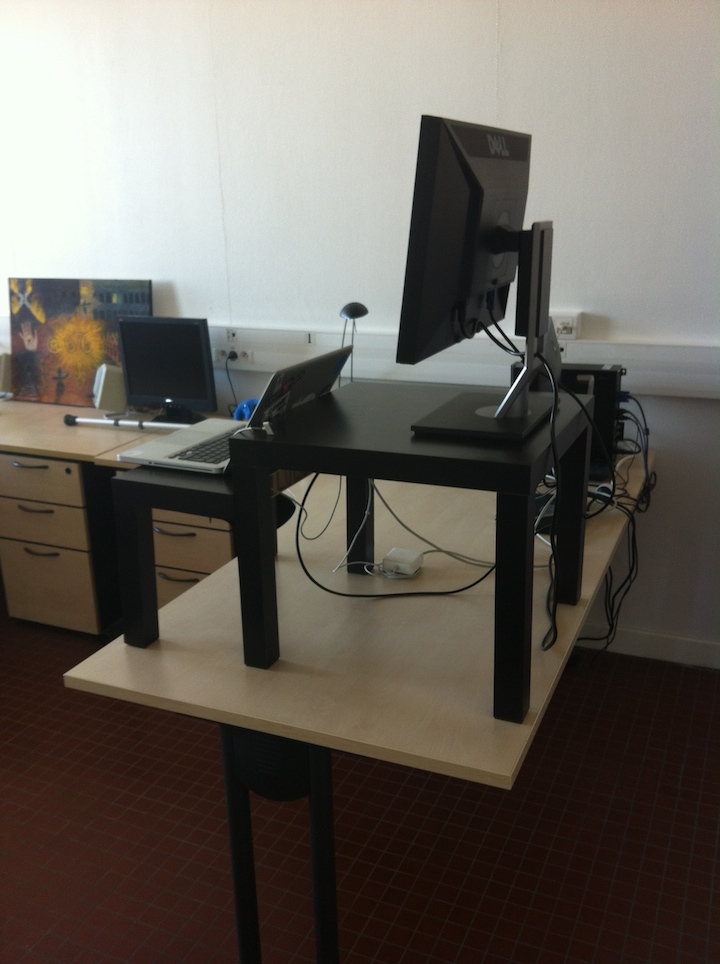
Then, I screwed the half table part to the main side table, and cut and stuck rubber pads on each leg. That way, the whole piece of furniture should be pretty stable once put on the desk.
And voilà! I am ready to work standing up. It is worth mentioning that I can double the space of the upper surface, if I want to, by simply buying another side table (I actually bought a few ones already, just in case you know). I also kept the other part of the table I cut so that I can possibly build another similar piece of furniture.
I would like to thank Jean-Pierre who has provided me all the tools and knowledge I needed.
ℹ️ Feel free to fork and edit this post if you find a typo, thank you so much! This post is licensed under the Creative Commons Attribution-ShareAlike 4.0 International (CC BY-SA 4.0) license.